- Fade versus Fading
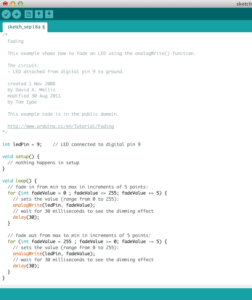
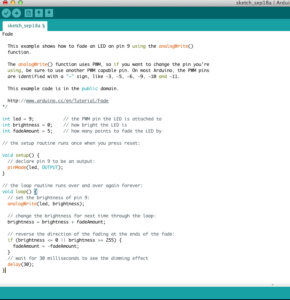
For this assignment, we had to analyze the differences between Fade and Fading. Both of these functions simply make an LED fade in and fade out. When you look at the circuit, it seems like they are doing the exact same thing. However, when analyzing the code, the difference between them becomes very clear. For Fade, only one if statement is used in void loop(), whereas Fading utilizes two loops.
I utilized the following items:
1×330 resistor
1xLED
2xwires
1xbreadboard
1xRedboard
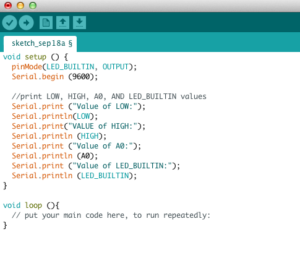
Attached are pictures of the different codes for Fade and Fading from the Arduino Tutorials. Also, a picture of the code which printed values of the following: high, low, A0, and LED_BUILTIN.


- Blink without delay
Here, the code is also from the Arduino, but by adding a Serial-print() and Serialprintl() you can actually see the changes. This works by identifying the difference in milliseconds between each blink.
The code is as follows:
/*
Blink without Delay
Turns on and off a light emitting diode (LED) connected to a digital pin,
without using the delay() function. This means that other code can run at the
same time without being interrupted by the LED code.
The circuit:
– Use the onboard LED.
– Note: Most Arduinos have an on-board LED you can control. On the UNO, MEGA
and ZERO it is attached to digital pin 13, on MKR1000 on pin 6. LED_BUILTIN
is set to the correct LED pin independent of which board is used.
If you want to know what pin the on-board LED is connected to on your
Arduino model, check the Technical Specs of your board at:
https://www.arduino.cc/en/Main/Products
created 2005
by David A. Mellis
modified 8 Feb 2010
by Paul Stoffregen
modified 11 Nov 2013
by Scott Fitzgerald
modified 9 Jan 2017
by Arturo Guadalupi
This example code is in the public domain.
http://www.arduino.cc/en/Tutorial/BlinkWithoutDelay
*/
// constants won’t change. Used here to set a pin number:
const int ledPin = LED_BUILTIN;// the number of the LED pin
// Variables will change:
int ledState = LOW; // ledState used to set the LED
// Generally, you should use “unsigned long” for variables that hold time
// The value will quickly become too large for an int to store
unsigned long previousMillis = 0; // will store last time LED was updated
// constants won’t change:
const long interval = 1000; // interval at which to blink (milliseconds)
void setup() {
// set the digital pin as output:
pinMode(ledPin, OUTPUT);
Serial.begin (9600);
}
void loop() {
// here is where you’d put code that needs to be running all the time.
// check to see if it’s time to blink the LED; that is, if the difference
// between the current time and last time you blinked the LED is bigger than
// the interval at which you want to blink the LED.
unsigned long currentMillis = millis();
Serial.print (“Current Milisecond: “);
Serial.println (currentMillis);
if (currentMillis – previousMillis >= interval) {
// save the last time you blinked the LED
Serial.print (“Previous Millisecond will now be: “);
Serial.println(previousMillis);
previousMillis = currentMillis;
// if the LED is off turn it on and vice-versa:
if (ledState == LOW) {
ledState = HIGH;
} else {
ledState = LOW;
}
// set the LED with the ledState of the variable:
digitalWrite(ledPin, ledState);
}
}
