Here is the code for the Arduino:
// Created by Claire Neel, September 2017
int blue = 10; // this creates variables for the pin numbers
int green = 11;
void setup() {
analogWrite(green, 255); // will only run once, green light slowly drops in brightness
delay(1000);
analogWrite(green, 250);
delay(1000);
analogWrite(green, 200);
delay(1000);
analogWrite(green, 175);
delay(1000);
analogWrite(green, 155);
delay(1000);
analogWrite(green, 100);
delay(1000);
analogWrite(green, 55);
delay(1000);
analogWrite(green, 0);
}
void loop() {
analogWrite(blue, 255); // will run continously after green light is done running
delay(1000);
analogWrite(blue, 200); // goes from very bright to off in a loop
delay(1000);
analogWrite(blue, 155);
delay(1000);
analogWrite(blue, 100);
delay(1000);
analogWrite(blue, 55);
delay(1000);
analogWrite(blue, 0);
delay(1000);
}
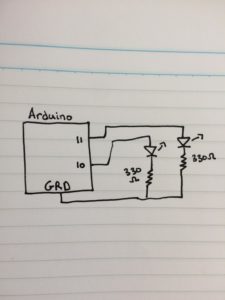
Here is the schematic:
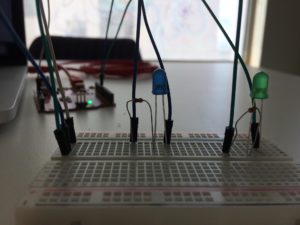
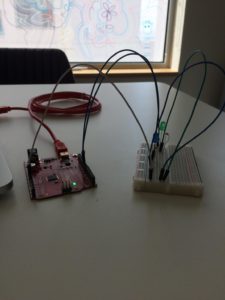
Here are pictures of my RedBoard:

I found this exercise to be very difficult because I kept missing whether the green light would blink or not. I didn’trealize how fast it would start, so I kept fiddling with the code. Making the setup() sequence longer helped because I had more time to double check that the code was actually running. Knowing that setup() only runs once and immediately starts is something I should have had at the forefront of my mind while checking everything. Also, I wouldn’t use the color green again, it’s harder to see.